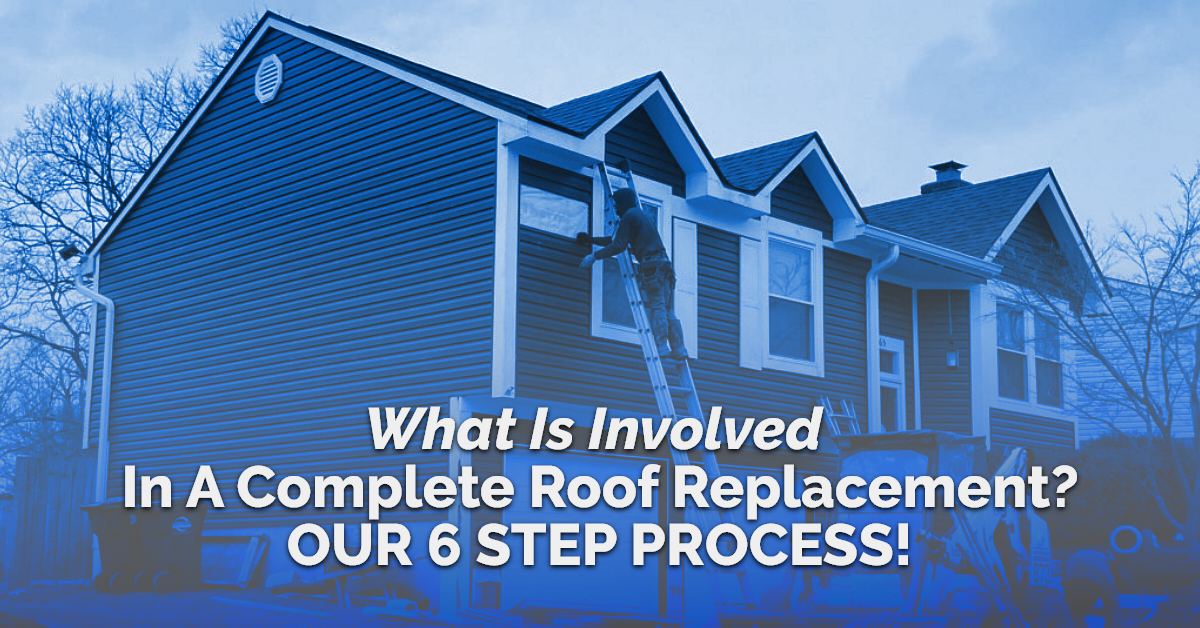
Roof replacement is a huge undertaking. It is a multi-step process that involves many features and components. Understanding the steps to replace a roof can help you feel more confident in your decisions and ensure everything goes smoothly.
Initial Roof Inspection
To begin your roof replacement journey, you’ll need a comprehensive roof inspection. This is especially important if your roof has received damage, is in disrepair, or is past its warranty and expected lifespan.
Your local roofing contractor will check the condition of the entire roof, including the roof covering, ventilation system, roof penetrations, roof flashing, chimneys, and gutters. A thorough inspection will help uncover any issues that may be going unnoticed.
The roofer will also calculate the square footage of your roof and assess the layout to determine how much roofing material is needed.
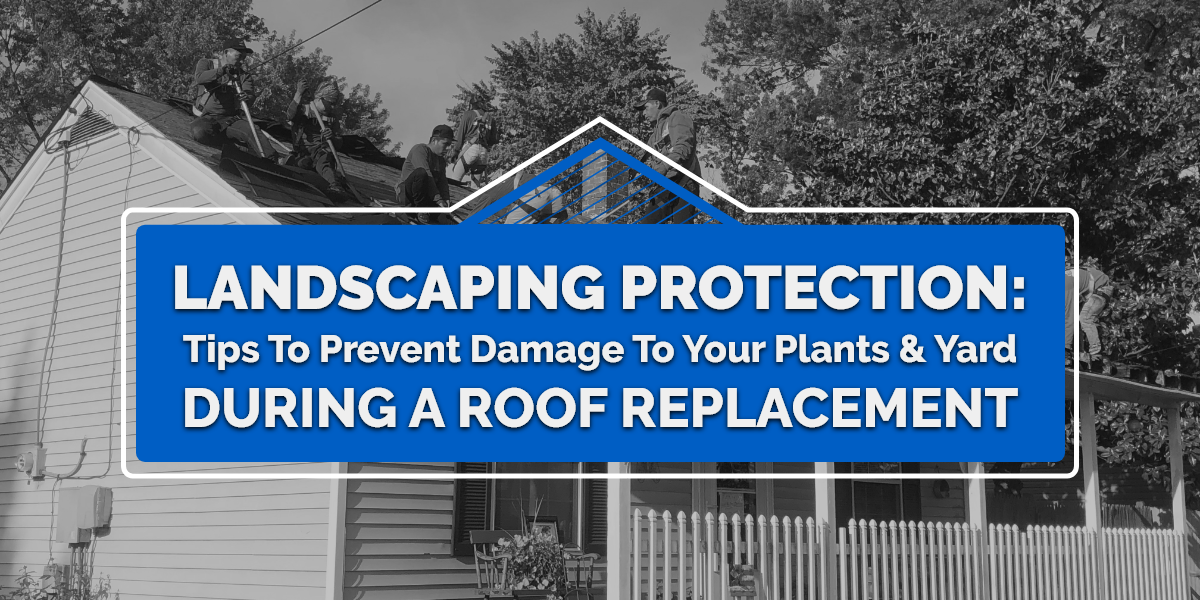
Preparing the Work Area
When your roofing contractor arrives at your home, they’ll do some prep work to protect your property and make the process easier.
- They will make sure all vehicles are moved out of the driveway to protect them from stray debris. This also allows the hauling trailer to be easily accessed by workers without the worry of damage to vehicles.
- They will also use tarps to cover plants, shrubs, grass, pool, and other items surrounding the base of your home. Tarps make clean-up easier.
- They’ll place plywood against your doors, windows, and air conditioner to prevent damage by falling debris.
- Finally, they’ll park a dump trailer close to your home or in the driveway so the crew can throw debris directly into it.
Once the work area is set up, the actual tear-off process comes next.
Removing the Old Roofing System
The roofing crew will begin removing the old roofing materials. This can be accomplished using either a garden fork or a specially notched roofing shovel. These tools are used for prying up the nails, loosening the ridge caps, and pulling up the shingles.
The roofers will start the removal at the top of the roof, on the furthest corner away from the driveway, so they’re working towards the dump trailer. While some crew members are tearing off the old roof, others will gather debris and move it into the dump trailer.
Old or damaged roof flashing, drip edge, and underlayment are also removed at this time. Roofing nails and staples are removed or nailed flat into roof decking to ensure they’re out of the way for the new materials.
After removing the old roof, your roofing contractor will perform a thorough inspection of the decking, which is made up of flat wooden panels that provide a base for all the roofing materials. The contractor will look for any spots of rotten or damaged wood that may need to be repaired or replaced before new materials are installed.
Installing the New Roof
After the tear-off and making sure your decking is in good condition, your roofing contractor will install the drip edge and lay the underlayment.
A roof drip edge is a metal flashing installed at the edges of a roof to divert water away from the house and protect the underlying roofing components. It goes before the underlayment and is nailed into the roof decking.
Roofing underlayment is a waterproof material placed directly on the roof decking. It provides a secondary layer of protection from rain and harsh weather. The contractor will begin running the underlayment at the edge of the roof, over the drip edge.
With underlayment and drip edge in place, the contractor will start installing starter shingles at the bottom and sides. This extra layer of shingles gives additional strength and protection right where the elements tend to hit the hardest.
Finally, the main roof covering is installed, starting at the eaves all the way to the peaks. An adhesive is used to seal one layer of shingles to the next one below it. Nails are also used to ensure shingles remain secure.
Installing New Flashing
A reliable roofing contractor will replace roof flashing. This aluminum or galvanized steel strip is installed over the joints of the roof to prevent water infiltration. Flashing is typically needed at the roof’s valleys, chimneys, vents, wood stove pipes, and any other joint on the roof. Your contractor will also install new drip edges and gutter aprons.
Cleaning Up and Inspecting Their Workmanship
After your new roof has been installed, there’ll be some debris lying around your home. The roofers will blow off your roof, gutters, and downspouts to clear them of any debris. Then, they will roll up the tarps, remove debris from your yard, and go all over the property with a strong magnet to pick up loose nails.
The roofing contractor will inspect the roof and make sure its quality matches the high standards you expected and that all building codes have been followed. They will also do a final walk-through with you, discussing billing, warranties, and maintenance.
Need a new roof for your home and want things done right from the start? Titan Siding and Roofing is your residential roofer of choice. With extensive experience in home improvement, we give homeowners in the Greater Cincinnati area peace of mind through each stage of the roof replacement process. You can trust us to get the job done promptly and to your complete satisfaction. Contact us today to request a free estimate.


